Today I have my first Christmas tutorial for you! This is for my first Christmas design from 2010's Christmas series but it's still one of my all-time most popular posts, so I figured it was worth it to do a tutorial on it.
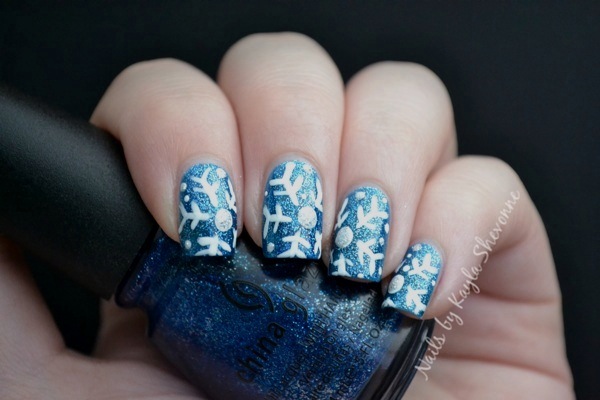
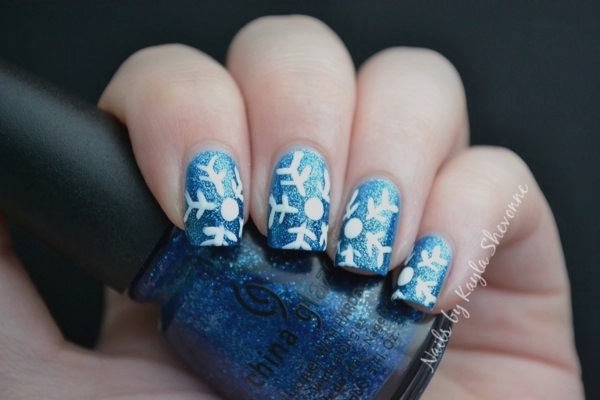
Most of you probably haven't seen this design because I had less than 200 followers when I was doing my Christmas series last year. So, to refresh, here's the design I'll be showing you how to do today:
Keep reading for the tutorial!
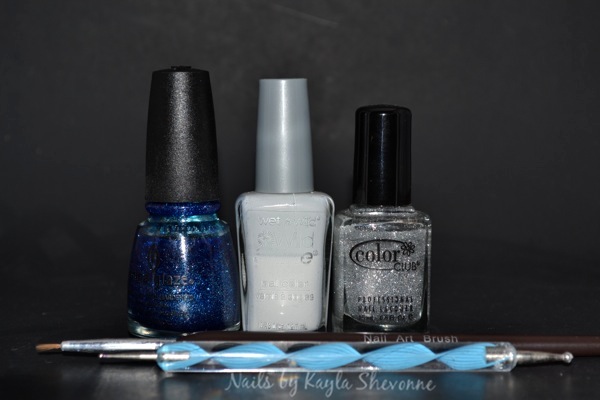
Supplies:
- Base and top coat
- Blue glittery polish, white creme polish, silver glitter polish (optional)
- A small nail art brush
- Small and large sized dotting tools
Step 1:
Apply your base coat.
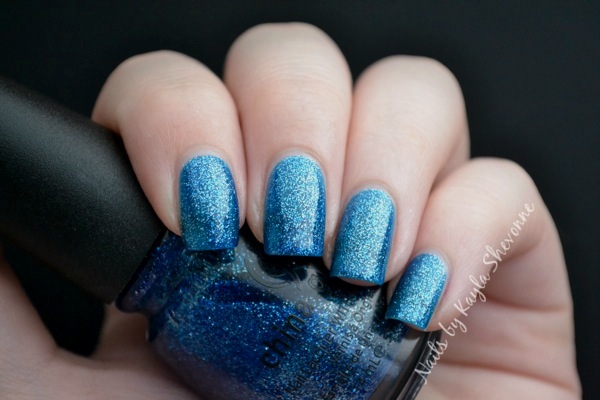
Step 2:
Paint all of your nails with your glittery blue polish.
Step 3:
Using your large dotting tool and your white creme polish, make one large dot somewhere near the middle of your nail (the placement doesn't have to be perfect).
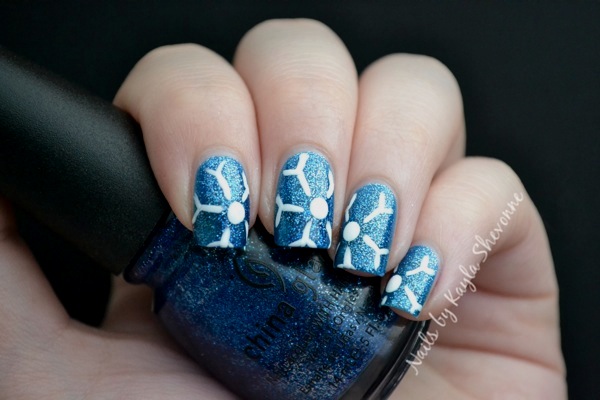
Step 4:
Using your nail art brush and your white polish, draw 5 lines extending out from the large dot you just made. You can connect these lines to the dot if you would like, but I didn't in my original design.
Step 5:
Draw 2 small, slanted lines at the end of each of the lines you drew in Step 4.
Step 6:
Add 2 more slanted lines to the middle of the lines you drew in Step 4. If your nail is too narrow or if the snowflake will be too crowded by doing this step, skip it entirely.
Step 7:
Using your small dotting tool, add some random dots around your snowflake to simulate falling snow.
Step 8:
This step is optional, but to add a little extra sparkle, you can use your small dotting tool and the silver glitter polish to add some glitter highlights to your design. You can add these highlights anywhere you like, but I chose the middle of the snowflake and a few of the falling pieces of snow.
Step 9:
After allowing your design to dry completely, add a layer of your favorite top coat. This will make your new mani last longer, it will smooth out any bumps and ridges that have been created during the process, and it will also give your nails a nice shine.
I hope this tutorial was helpful! And if you try this design out for yourself, be sure to share it with me on the !
Thanks for looking!
when i saw the headline of your post, I wondered why you would do it, but having read it .. WINNER. Makes sooooo much difference to see it on the nail. Thanks for investing the time xx
ReplyDeleteSnowflakes are typically 6-sided. If anything, they'll have 3 or 12 sides, but never 5 or 8. Otherwise, lovely!
ReplyDeleteI just tried this! It was my first attempt at nail art and I loved it :D
ReplyDelete